Building My Own Private Cloud Storage (A True Google Drive Alternative)
How I replaced Google Drive with my old Dell laptop using open-source software for zero monthly cost. Complete guide with setup steps.
.png)
Introduction
For years, I used Google Drive like everyone else. It was convenient, familiar, and just worked. But last year, I started feeling uneasy about having all my personal documents, photos, and files stored on someone else's servers.
One evening, I looked at my old Dell laptop gathering dust in the corner and wondered: "Could this become my personal cloud?"
Turns out, it could. After months of tinkering, learning, and troubleshooting, I successfully replaced Google Drive completely. This guide walks through exactly how I did it—not as an expert, but as someone who learned through trial and error.
Why Build Your Own Cloud?
1. True Data Ownership
With Google Drive or Dropbox, your files live on servers you don't control. Companies can scan your content, change their terms, or even lock your account. When you self-host, your data stays on hardware you physically own. No middleman, no corporate policies governing access to your own files.
2. Privacy You Can Actually Trust
Commercial cloud services promise privacy, but their business models often conflict with this promise. Metadata collection, automated scanning, and data sharing with third parties are common. With your own setup, encryption happens on your terms, and you decide what gets logged or transmitted.
3. Freedom from Subscription Traps
What starts as free storage slowly becomes a monthly expense. Additional features, more space, premium support—the costs add up over years. With self-hosting, your only costs are electricity and occasional hardware upgrades. My old laptop draws about as much power as a dim light bulb.
4. Practical Skills Development
Setting this up taught me more about Linux, networking, and system administration than any course could. These are tangible, marketable skills that extend far beyond just file storage.
5. Complete Customization
Need specific sharing permissions? Want particular backup schedules? Prefer certain interfaces or tools? When you control the infrastructure, you control every aspect of the experience.
What You'll Need
Hardware
- An old computer or laptop (Mine: Dell Latitude from 2012 with 4GB RAM)
- External hard drive (optional, for expanded storage)
- Reliable internet connection (doesn't need to be fast)
Software
- Debian Linux (or any Linux distribution you're comfortable with)
- Docker & Docker Compose (for container management)
- Nextcloud (the cloud platform itself)
- MariaDB (database)
- Redis (caching for better performance)
You can USE cloud services like AWS or AZURE but it's not FREE (no privacy too) Total software cost: $0. All components are open-source and freely available.
Understanding the Components
Nextcloud: Your Cloud Platform
Nextcloud is an open-source, self-hosted productivity platform that provides:
- File synchronization and sharing (like Google Drive)
- Photo management (like Google Photos)
- Calendar and contacts
- Collaborative editing
- And much more
It's actively developed with regular security updates and has a large community. You can learn more or contribute at nextcloud.com/contribute/.
Docker: Simplified Deployment
Docker packages applications with all their dependencies into standardized units called containers. This means:
- No "dependency hell" where one component breaks another
- Easy updates with a single command
- Isolation between services
- Consistent behavior across different systems
MariaDB & Redis: The Supporting Cast
- MariaDB stores all metadata about your files, users, and settings
- Redis caches frequently accessed data, making the system significantly faster
System Requirements
Minimum:
- Linux-based OS (Debian 11/12, Ubuntu 22.04+, or similar)
- 2 GB RAM
- 20 GB free disk space
- Basic command-line familiarity
Recommended:
- 4 GB RAM
- 50+ GB disk space
- External storage for backups
My 2012 Dell laptop with 4GB RAM handles 2 users comfortably. Performance is surprisingly good for basic file operations.
Step-by-Step Setup Guide
Step 1: System Preparation
Update your system and install Docker. I prefer using nala instead of apt as it provides clearer output and parallel downloads.
# Update package lists and upgrade existing packages
sudo nala update
sudo nala upgrade -y

# Install Docker and Docker Compose
sudo nala install -y docker.io docker-compose-plugin

# Verify installations
docker --version
docker compose versionEnable Docker to start automatically on boot:
# Start Docker service
sudo systemctl start docker

# Enable automatic startup
sudo systemctl enable docker

# Add your user to docker group (so you don't need sudo for every docker command)
sudo usermod -aG docker $USER

# Apply group changes (log out and back in for permanent effect, or use:)
newgrp dockerStep 2: Create Project Structure
Organized directories make management easier:
mkdir -p ~/nextcloud

cd ~/nextcloud

nano docker-compose.yml #create docker-compose.yml and open in nanoStep 3: Configure Docker Compose
Create the main configuration file:
version: "3.9"

services:
  # Database service (MariaDB)
  db:
    image: mariadb:10.11
    container_name: nextcloud-db
    restart: unless-stopped
    command: --transaction-isolation=READ-COMMITTED --binlog-format=ROW
    volumes:
      - db:/var/lib/mysql
    environment:
      - MYSQL_ROOT_PASSWORD=change_this_root_password
      - MYSQL_PASSWORD=change_this_nextcloud_password
      - MYSQL_DATABASE=nextcloud
      - MYSQL_USER=nextcloud
    healthcheck:
      test: ["CMD", "healthcheck.sh", "--connect", "--innodb_initialized"]
      start_period: 10s
      interval: 10s
      timeout: 5s
      retries: 3

  # Redis cache for better performance
  redis:
    image: redis:alpine
    container_name: nextcloud-redis
    restart: unless-stopped
    command: redis-server --requirepass change_this_redis_password
    healthcheck:
      test: ["CMD", "redis-cli", "ping"]
      interval: 10s
      timeout: 5s
      retries: 3

  # Nextcloud application
  app:
    image: nextcloud:stable-apache
    container_name: nextcloud-app
    restart: unless-stopped
    ports:
      - "8080:80"  # Change 8080 if this port is already in use
    volumes:
      - nextcloud:/var/www/html
      - ./data:/var/www/html/data
      - ./config/php.ini:/usr/local/etc/php/conf.d/nextcloud.ini
    environment:
      - MYSQL_HOST=db
      - MYSQL_DATABASE=nextcloud
      - MYSQL_USER=nextcloud
      - MYSQL_PASSWORD=change_this_nextcloud_password
      - REDIS_HOST=redis
      - REDIS_HOST_PASSWORD=change_this_redis_password
      - NEXTCLOUD_TRUSTED_DOMAINS=localhost
      - NEXTCLOUD_ADMIN_USER=admin
      - NEXTCLOUD_ADMIN_PASSWORD=change_this_admin_password
    depends_on:
      db:
        condition: service_healthy
      redis:
        condition: service_healthy
    healthcheck:
      test: ["CMD", "curl", "-f", "http://localhost:80/status.php"]
      interval: 30s
      timeout: 10s
      retries: 3

# Persistent volumes
volumes:
  db:
    driver: local
  nextcloud:
driver: localStep 4: Launch the Stack
Start all services:
docker compose up -dCheck status: you can check status with docker compose ps or using portainer
You should see three containers:
- nextcloud-app (status: Up)
- nextcloud-db (status: Up)
- nextcloud-redis (status: Up)
Step 5: Initial Setup
Open your web browser and navigate to:
- http://localhost:8080 (if accessing from the same machine)
- http://192.168.x.x:8080 (if accessing from another device)
You'll see the Nextcloud setup page.
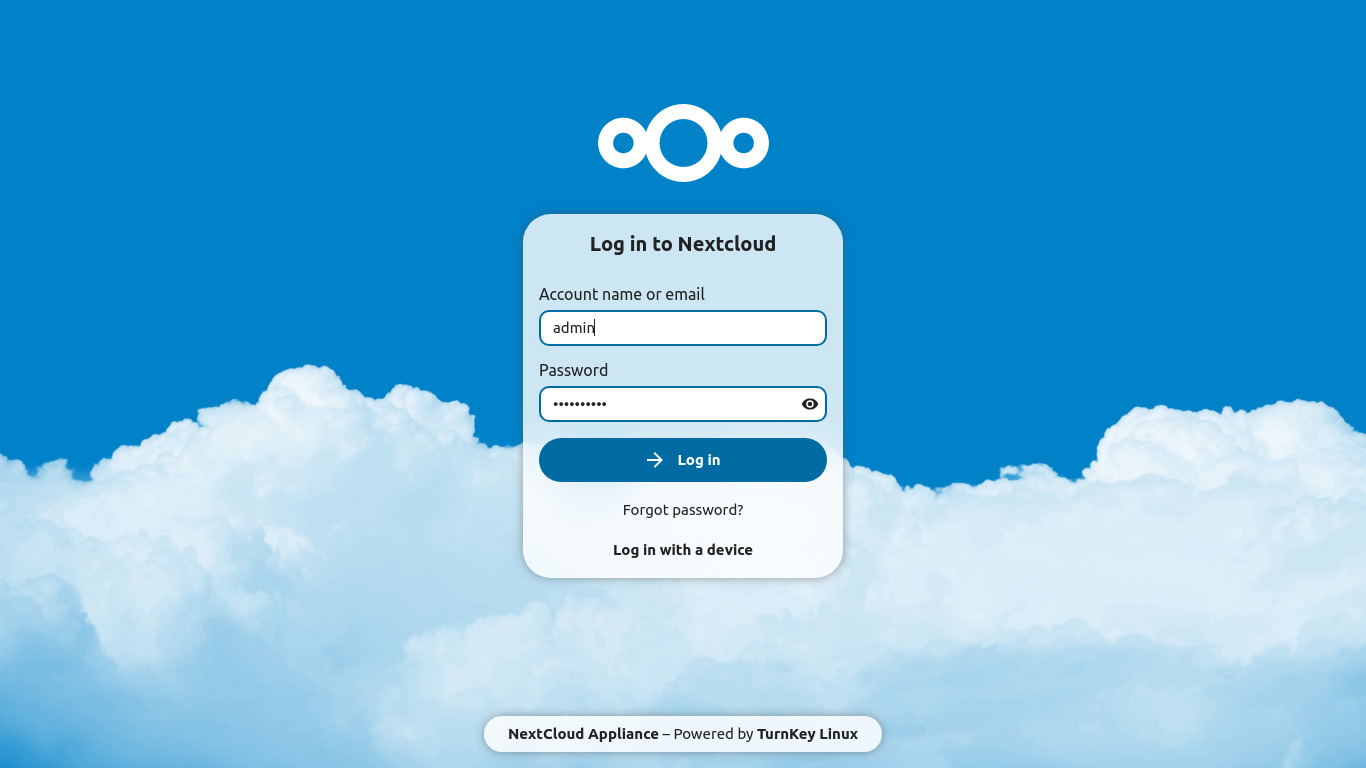 Since we pre-configured (DB Credentials) everything in docker-compose.yml file, you can simply log in with (username, password).
Once logged in, you can start using Nextcloud. You can create folders, upload files, and collaborate with others. It's a powerful platform for managing your digital life.
Step 6: Explore Nextcloud Features
Once logged in, you'll find Nextcloud is packed with features beyond just file storage:
File Storage & Sharing:
- Drag-and-drop file uploading
- Share files/folders via links
- Set expiration dates on shares
- Password-protect sensitive shares
- Control download permissions

Additional Productivity Tools:
- Calendar - Sync with CalDAV clients
- Contacts - Manage address books
- Tasks - To-do lists and project management
- Notes - Markdown-enabled note-taking
- Photos - Automatic mobile upload and organization
- Collaborative editing - Real-time document editing
- Video calls - Built-in Talk feature
- Email - Integrated mail client
Accessing Your Cloud From Anywhere
Port Forwarding (Essential for Remote Access)
To access your Nextcloud from outside your home network, you need to configure port forwarding on your router:
-
Find your server's local IP:
hostname -IYou'll get something like
192.168.1.100 -
Access your router settings:
- Usually
http://192.168.1.1orhttp://10.0.0.1 - Login credentials are often on the router sticker
- Usually
-
Set up port forwarding:
- Navigate to "Port Forwarding" or "Virtual Servers"
- Add a new rule:
- Service Name:
Nextcloud - Internal IP:
[Your server's IP, e.g., 192.168.1.100] - Internal Port:
8080(or whatever you used) - External Port:
8080(or80for standard web) - Protocol:
TCP
- Service Name:
-
Find your public IP:
curl ifconfig.meOr visit: whatismyip.com
-
Access remotely:
http://YOUR_PUBLIC_IP:8080
Important Security Note
DO NOT expose port 80/8080 without HTTPS! For production use:
- Change to non-standard port (e.g., 8443 instead of 443)
- Set up Nginx reverse proxy with Let's Encrypt
- Enable fail2ban to block brute force attempts
Dynamic DNS (For Changing IP Addresses)
Most home ISPs provide dynamic IPs that change periodically. Use a free DDNS service:
-
Sign up for a free DDNS provider:
- DuckDNS (Recommended, simple)
- No-IP
- Afraid.org
-
Install DuckDNS (Example):
sudo docker run -d \ --name=duckdns \ --restart=unless-stopped \ -e "SUBDOMAINS=yourname" \ -e "TOKEN=your-duckdns-token" \ -e "LOG_FILE=false" \ linuxserver/duckdns -
Access via:
http://yourname.duckdns.org:8080
Mobile Access
-
Install Nextcloud apps:
- iOS: App Store
- Android: Google Play Store or F-Droid
-
Configure mobile app:
- Server URL:
http://yourname.duckdns.org:8080(or your public IP) - Username/Password: Your Nextcloud credentials
- Enable auto-upload for photos/videos
- Server URL:
You can Use NextCloud With phone app too and locally only too.
Final Thoughts
Building your own cloud storage isn't for everyone. It requires time, willingness to learn, and occasional troubleshooting. But for those concerned about privacy, tired of subscription fees, or simply wanting more control over their digital lives, it's an empowering solution.
The most satisfying moment came when I deleted my last files from Google Drive. The realization that I owned my infrastructure—that my data was truly mine—was worth every hour spent configuring and learning.
This isn't just about file storage. It's about reclaiming digital autonomy in an increasingly centralized internet. Your old laptop isn't obsolete; it's the foundation of your personal cloud.
This guide represents my personal experience and learning journey. Your mileage may vary based on hardware, technical comfort level, and specific needs. Always maintain backups before making significant changes, and consider your threat model when implementing security measures.